I have finally built the ultimate 4k video editing PC. This article is a beginner build guide on how to research and pick the best components for your new computer.
PC or Laptop?
My budget was around £1,000 or as close to as possible. I had some room for maneuver but Ideally, I didn’t want to go too much over.
Initially, I started my research by looking at laptops. This made sense as I would then be able to take it with on my travels if I required.
After looking at various laptops it became clear that you would end up paying almost double the price to get anything good and even then it would be compromised.
Due to the size of a laptop, heat builds up significantly faster. They tend to use underclocked versions of the processors. Other components have a similar fate and simple things like having more than 8GB or ram is difficult to find.
I also looked at the MacBook pro range. It is a good option if you are happy to spend £2,000 or more. However whilst you get a powerful laptop, its still not the most powerful. The pro range is not the most portable either.
The MacBook Air would be perfect for the size and weight. Unfortunately the screen, ram and processor are no good for editing. I ruled out the apple route.
I then started to look at pre-build purpose-built video editing desktops and high-end desktops such as the Dell XPS Desktop. These were quite powerful, but to get top end was £1500-2000 or more. At this point, I was starting to get an idea of what I wanted. I decided I should make a custom build instead.
How I will use the PC
As a quick background, I plan to use the computer for video editing and audio production.
The video editing software I use is Adobe Premiere Pro. For audio editing and audio production, I use Steinberg Cubase Pro currently on 9.5. I may occasionally use Adobe Photoshop and Lightroom.
I do not plan to do any gaming on this computer so the specification will not serve that purpose.
Custom Build Guide
Disclaimer: I will get a commission from purchases made through the links in this blog post which help support this website.
If you want to build a computer that will last then you should always focus on getting the best processor you can afford. The processor is also crucial if you are building a video editing PC as it will take the majority of the work on.
Processor
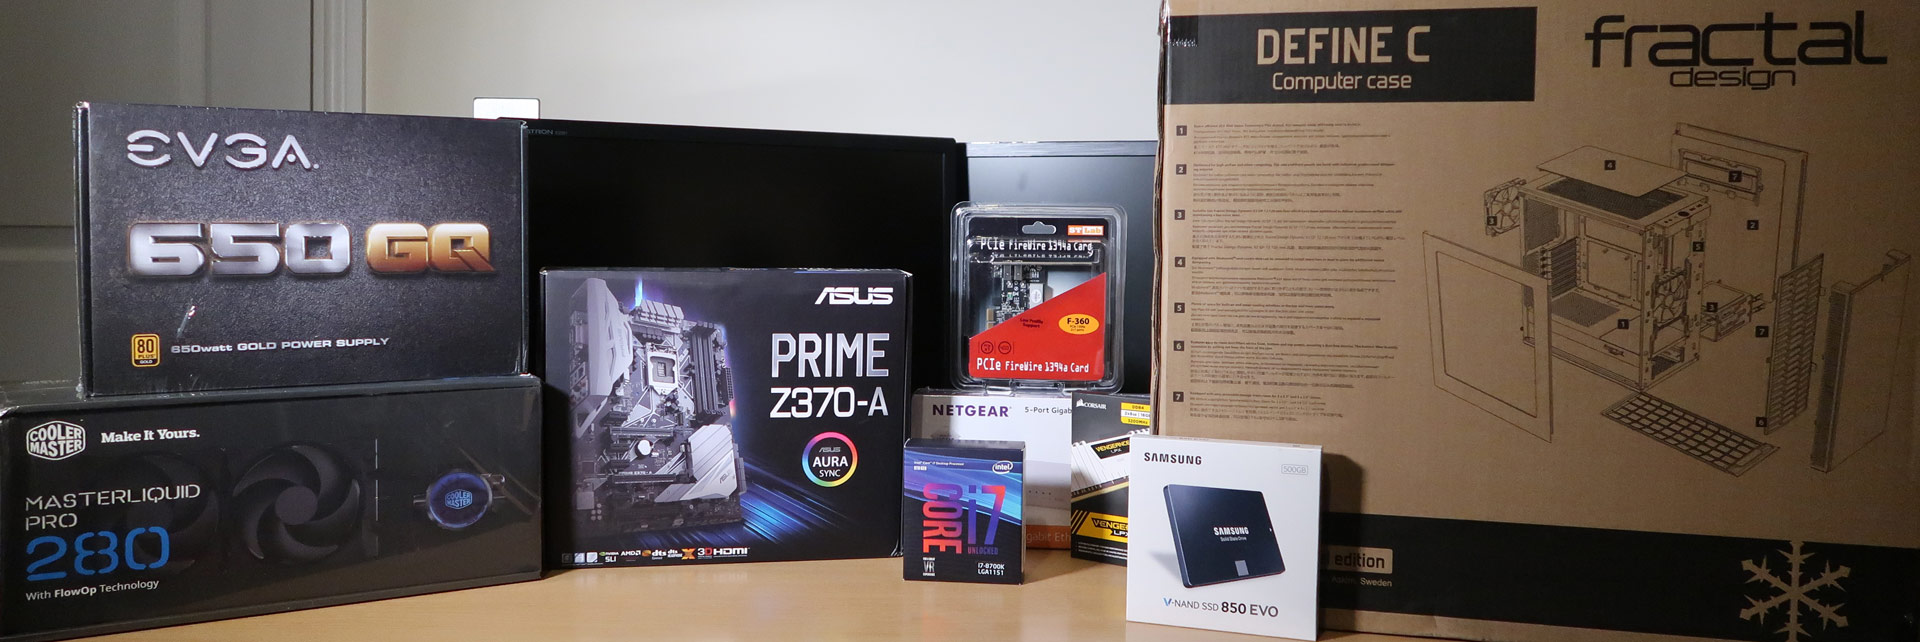
The new Intel i7 8700k was released end of 2017 and was showing a 20-30% performance gain over last years 7700k. I decided this was the best route to go. Despite it being £80 more, it also had 2 more cores which means that is a 50% increase at £40 per extra core it was a no-brainer.
Motherboard
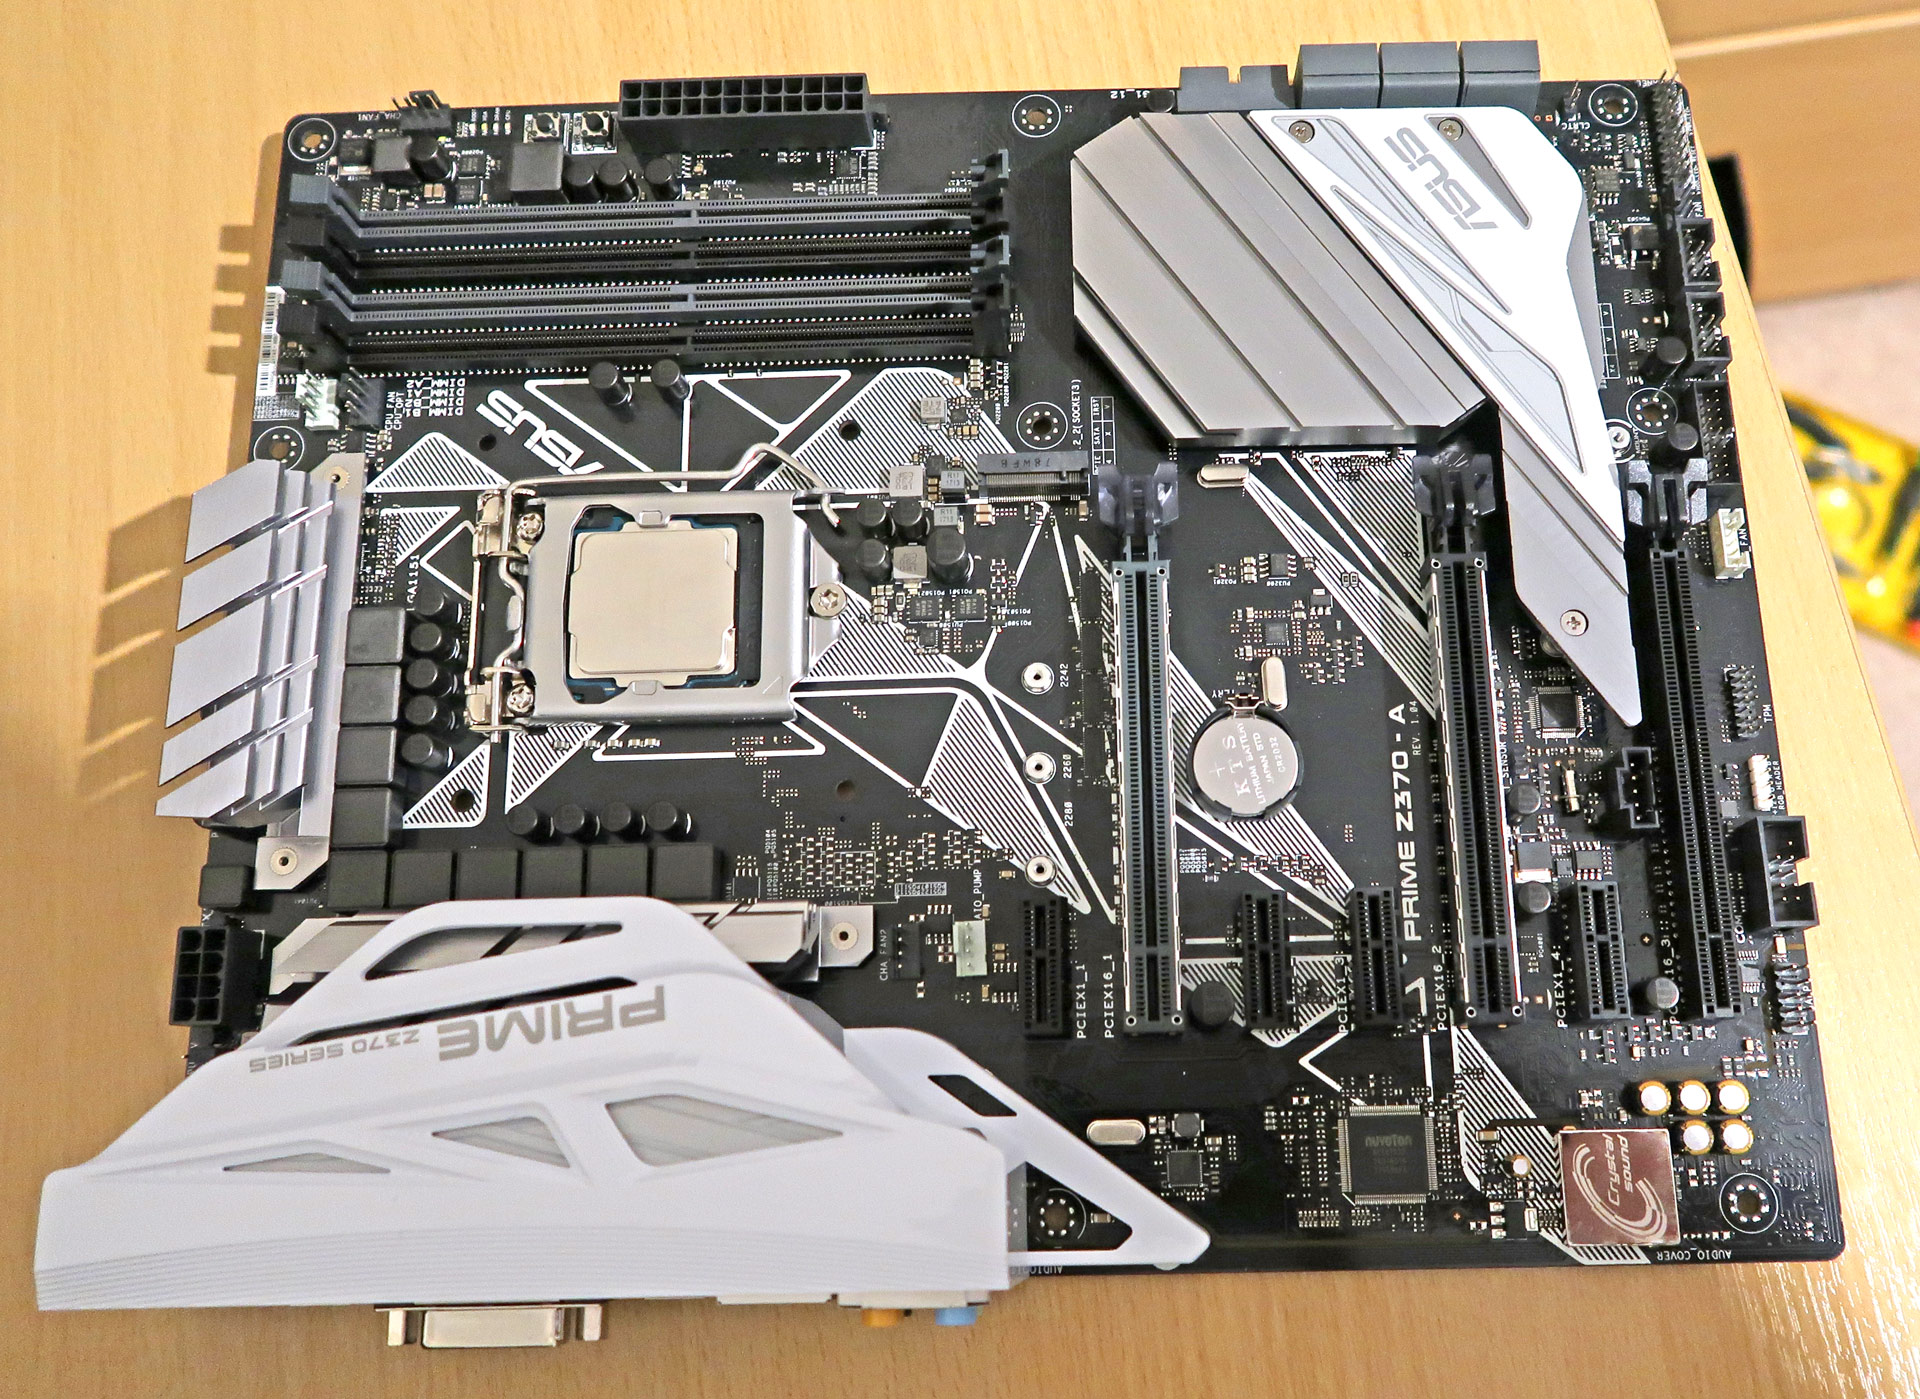
Your motherboard choice is very much dictated by the processor you buy. the new i7 range needs the z370 motherboards. I went for an ASUS board after a lot of previous research on the z270 range they were the most stable, run the coolest and generally seemed the best bet.
While there wasn’t a big selection of the newer z370s as they are a new technology, I thought ASUS was a safe bet. I went for the Prime-A board as this gave the best performance for applications.
If you want to save some extra cash you can get the Prime-P which is their cheapest board. If you plan to do some gaming also it may be worth paying an extra £30-50 for one of their gamer boards.
Memory
RAM/memory is very expensive at the moment. A few years ago you could buy 16GB for under £100, its now over £200. This meant that 32GB which would have been preferred was nearly £450.
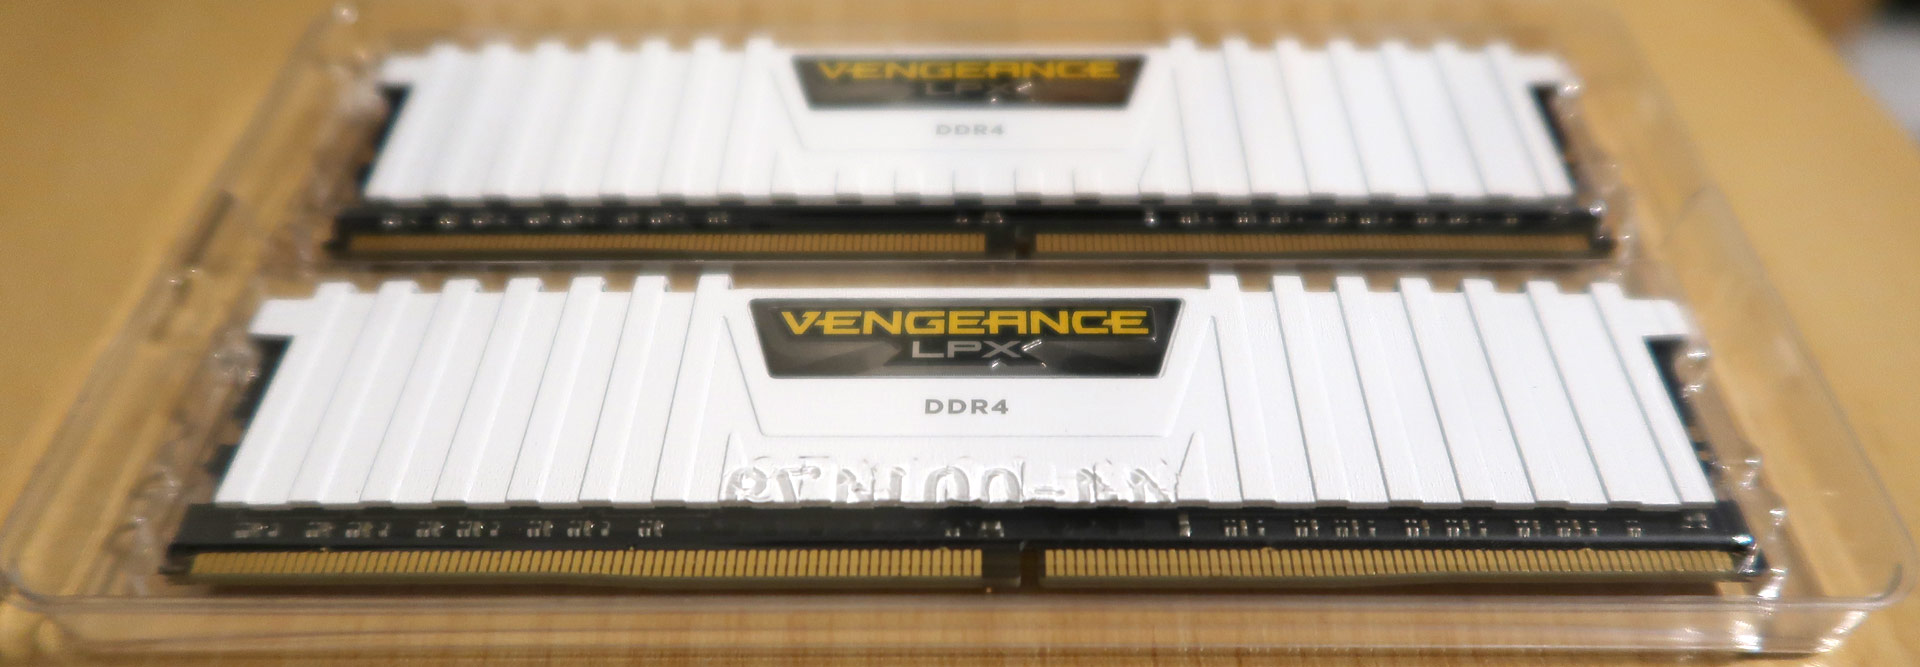
I decided to get two sticks of 8GB DDR4 RAM. This means I can upgrade later when I get more money or it comes down in price. I still have a usable 16GB running in parallel for added performance. Running two sticks rather than one can gain up to 30% in performance.
Cooling
Cooling a computer is very important once you have picked a powerful processor. I wanted to try overclocking the processor at some point which was one of the reasons I picked the 8700K over the 8700 processor. That also meant that it would be more efficient to go the water cooling route.
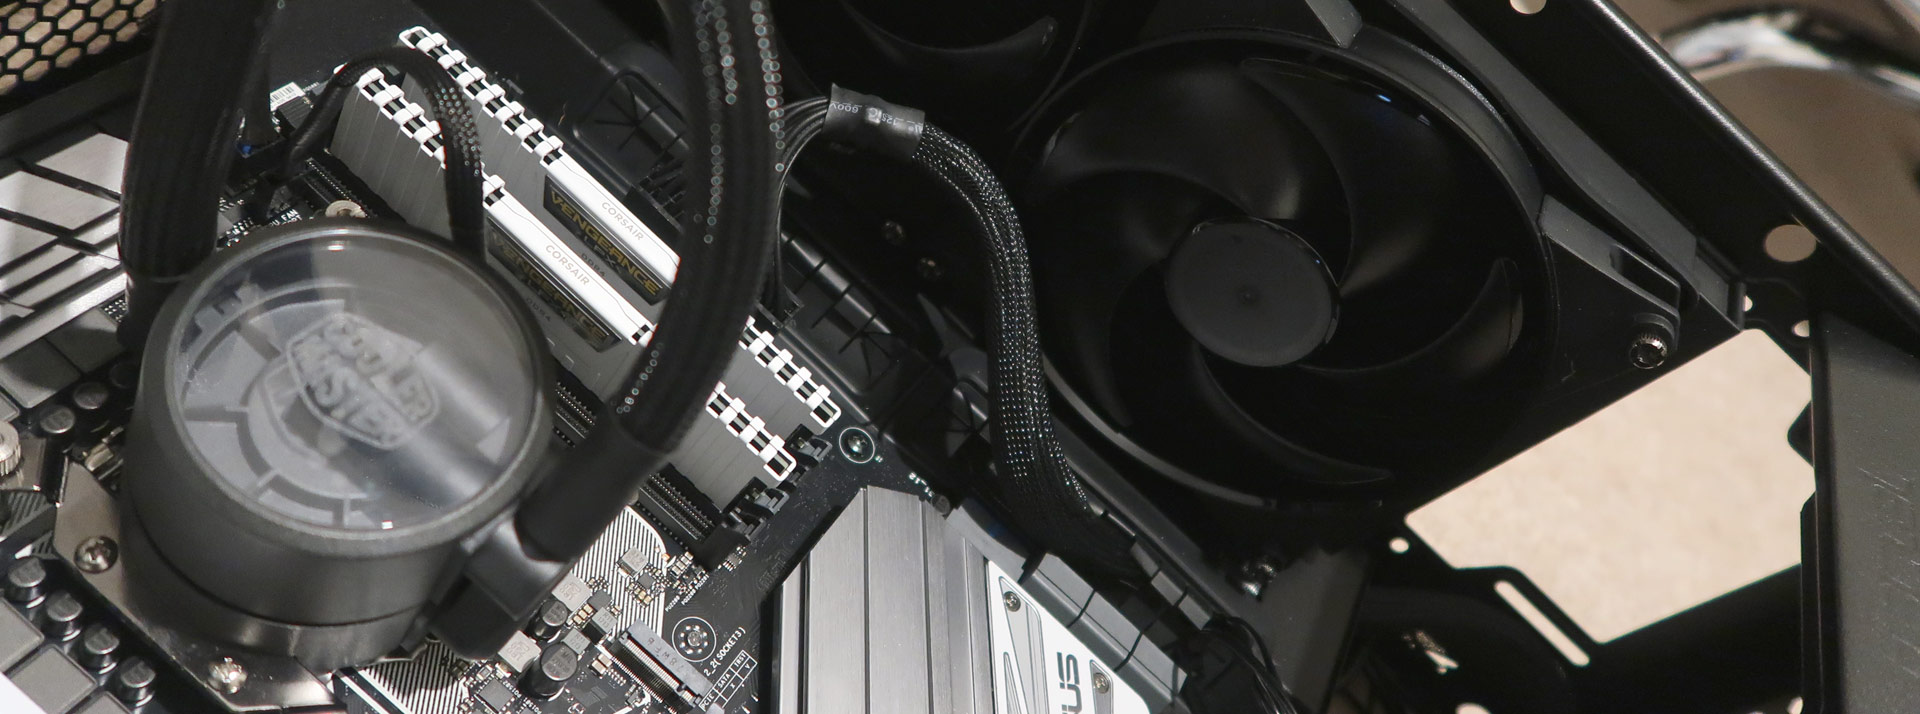
Water cooling should be a safe practice these days providing you don’t get carried away. I went for a water cooler that was pre-assembled and already contained the water.
Doing it this way saves any costly mistakes of potential water leakages. The water cooler had two 140mm fans and a big heat sink to compliment.
Case
With this in mind, I had to make sure I picked a case bigger enough to house the water cooler and everything else.
I had considered going for a small case however it would more than likely cause overheating in the future as the small case would not remove the heat fast enough.
I went for a case by Fractal. they are good at adding sound dampening within the case which is perfect for me as I do filming and music recording in the same room as my computer.
Power
Power wise I went for a EVGA Gold standard 650W PSU. You can get more powerful but I thought this was a good cut off should I buy any more cards that need to go into the computer. This also means I can double up on graphics cards in the future should I wish.
Gold refers to the efficiency levels of the power supplied – Gold is the best available.
Video / Graphics
By this point, I had already breached my initial budget of £1000. I decided to hold off on buying a graphics card straight away as the processor supported HD630 graphics so I would work with that.
Graphics cards are silly money at the moment, however, I plan to buy the GeForce GTX 1060 3 or 6Gb card in future depending on what the prices are. This is a medium level card which is more than suitable for a 4k video editing PC and will take my total build cost up to nearly £1500.
A Graphics card will be crucial if you plan to play games on your machine. It will also help with running some filters and FX to your video previews if the card is supported by programs such as Adobe Premiere.
The graphics card will not help with the rendering of video stabilization which relies on your processor speed. That said, if you don’t want to be left without one, you can buy a cheaper GTX 1050 for under £150.
Storage
For storage, it is best to have two separate drives. The first one would be a smaller drive specifically for running the operating system and programs.
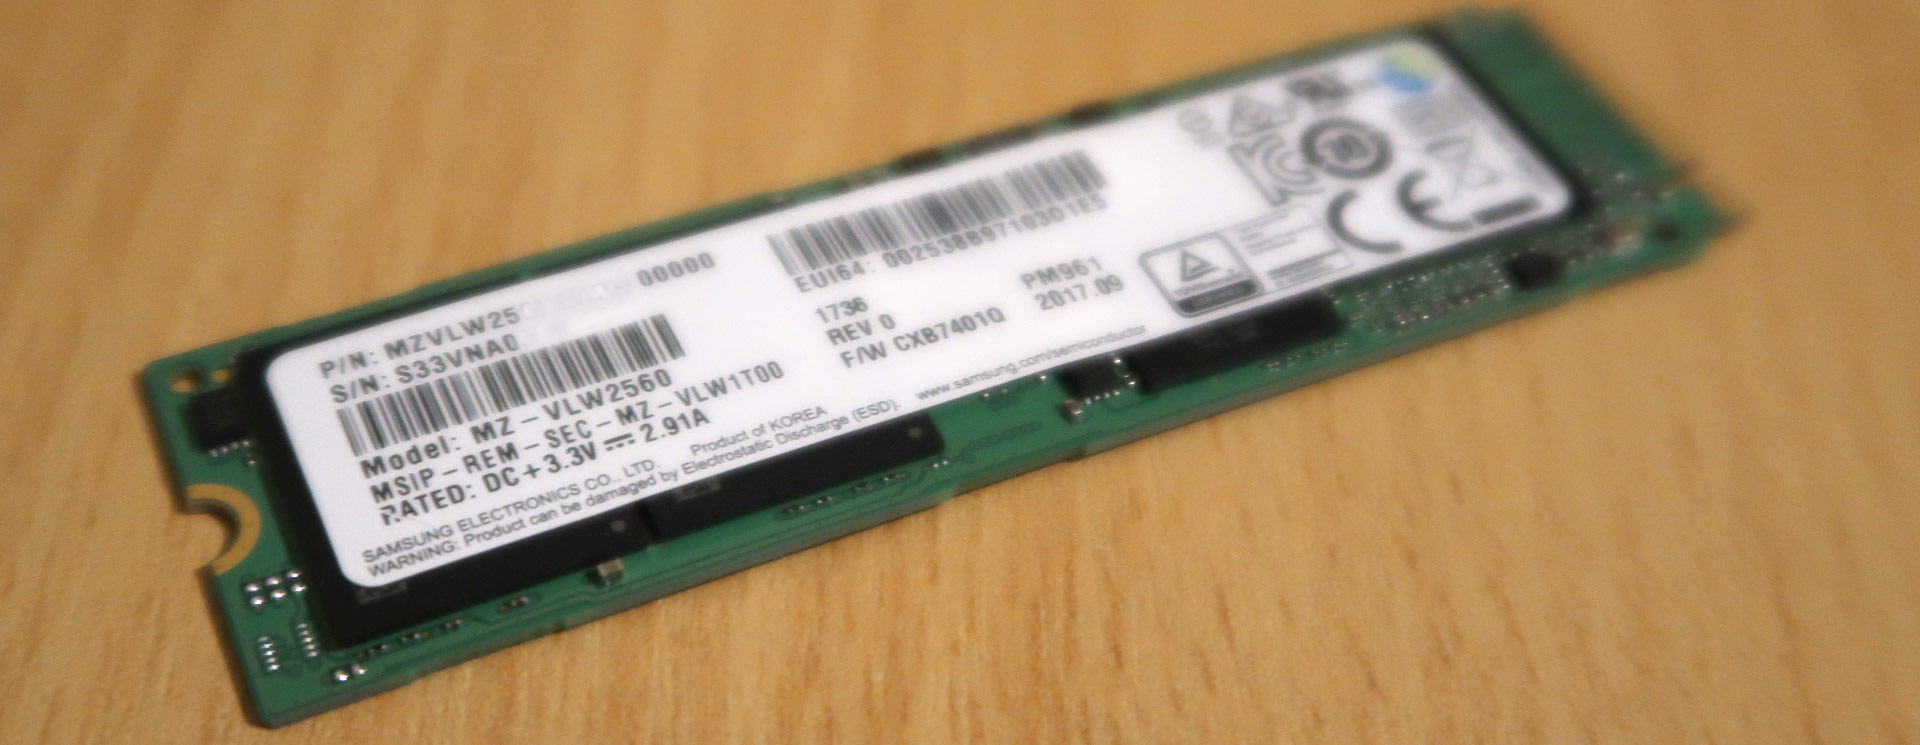
I went with a Samsung M.2 SSD 256GB drive which writes and reads twice as fast as most other SSD drives. M.2 is a new range which needs to be supported by the motherboard. The Prime-A motherboard in this build supports up to 2 of these and has a heatsink for the first M.2 slot allowing it to run optimally at all times.
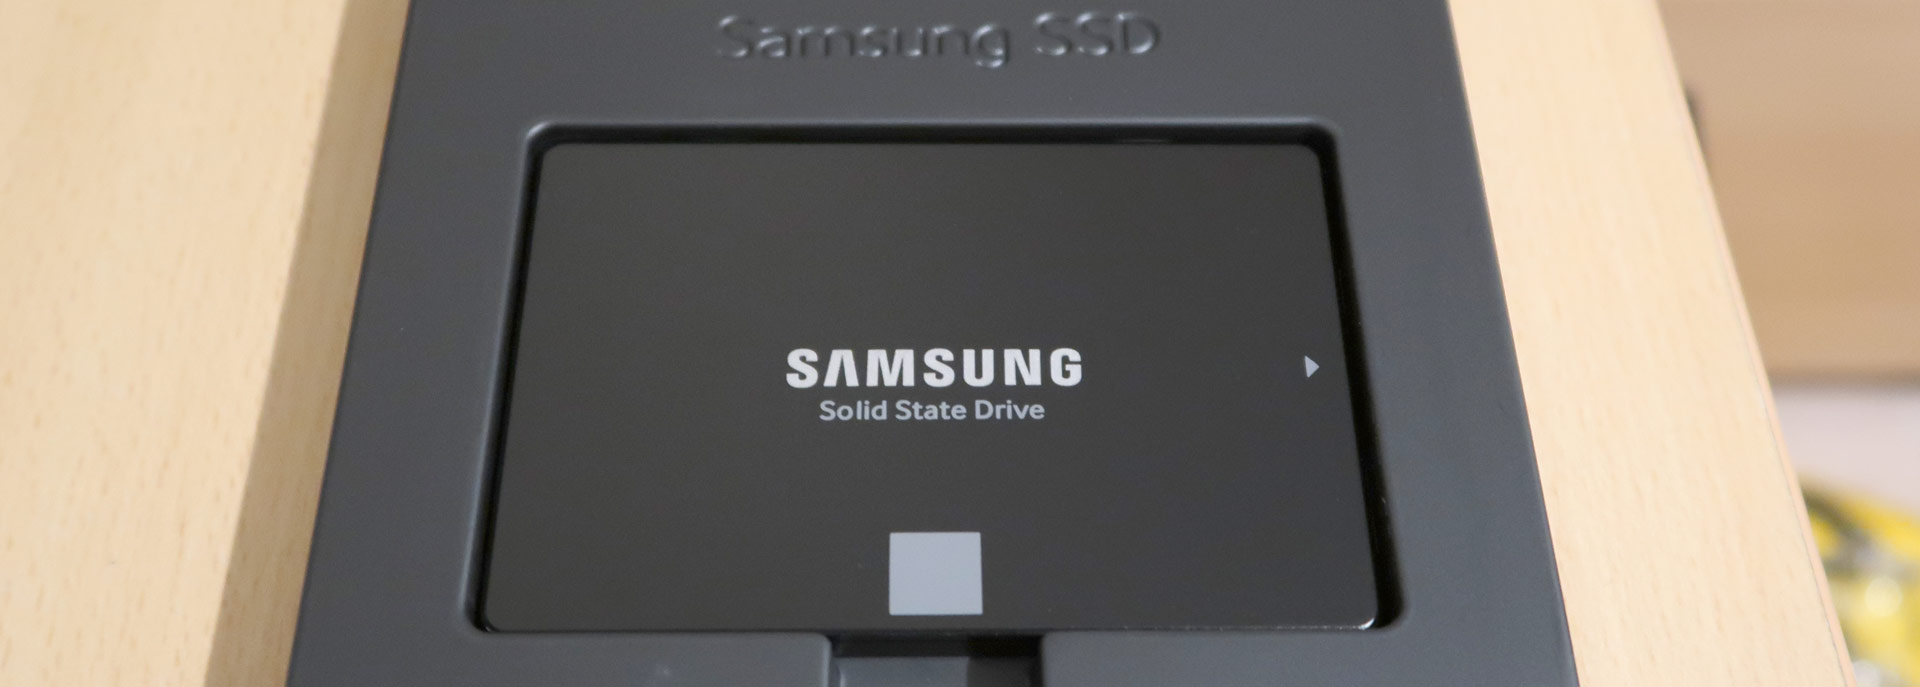
The second drive will hold any projects that are being worked on and still needs to be fast but not as fast. For this, I selected another Samsung SSD drive, the Samsung 850 Evo 500GB but this time slightly bigger and not an M.2.
It’s worth mentioning that the M.2 drives are usually routed through the motherboards SATA bandwidth. Make sure that this is not going to be affected by anything else you may have connected.
So there we have it. My 4k video editing machine will see me strong through the next 5 years and is in many ways is as powerful as computers such as the iMac pro which comes in at nearly £5000.
As with all these things, you can’t get super powerful and super cheap. There has to be a compromise.
I decided not to buy non-essential items but to pay a little extra for main components so they last.
I believe this is the best choice if you don’t want to upgrade your machine every 2-3 years.
Your thoughts?
Have you built your computer yet? What components did you select? How are you finding the performance of the machine for your editing purposes?
Please share your experience with us below as it may help others at the purchase stage.
You may also be interested in
![Ultimate Photo, Music and 4K Video Editing Computer | PC Beginner Build Guide [2018]](http://marlonvlogger.co.uk/wp-content/uploads/2018/01/IMG_2070-e1516579211126.jpg)
Leave a Reply